5 Window Cleaning Mistakes Homeowners Make | Zen GC
You've decided to tackle your windows yourself, armed with a spray bottle, paper towels, and good intentions. Two hours later, you're looking at streaky glass, water dripping down your walls, and the sinking realisation that maybe this wasn't as simple as it looked.
Most DIY window cleaning goes wrong in predictable ways. The same mistakes show up every time — wrong products, bad timing, poor technique. This guide breaks down the five most common errors and how to avoid them if you're determined to do it yourself.
TLDR QUICK ANSWER:
Wrong products (metho, vinegar, newspaper) leave residue and streaks
Cleaning in direct sunlight causes streaks — work in shade or early morning
Scrubbing too hard damages seals, tint, and scratches glass
Skipping screens and tracks defeats the purpose — dirty screens are unhealthy
Cleaning only exteriors makes windows look worse — both sides need cleaning
Mistake #1: Using the Wrong Cleaning Products
Walk into any Gold Coast home and you'll find metho, vinegar, or commercial glass cleaner being used on windows. All three leave residue that attracts dirt and creates streaks. Here's why:
Methylated Spirits (Metho)
Common recommendation for streak-free glass, but it's harsh, dries too fast in Queensland heat, and the fumes are unpleasant to work with indoors. It can also damage window seals and tints over time. There are better options that don't come with the downsides.
Vinegar and Water
The internet swears by it, but vinegar isn't strong enough for built-up grime and still leaves residue on Queensland windows exposed to salt air and dust. It works on lightly soiled glass — not on windows that haven't been cleaned in months.
Supermarket Glass Cleaners
Better than vinegar, but still not professional-grade. They dry too fast in Queensland heat and leave visible streaks. Professionals use specialised solutions designed for external glass exposed to the elements.
Newspaper
Old-school tip that doesn't work. Newspaper ink transfers to glass, creating smudges. Microfibre cloths or squeegees are the only tools that leave glass properly clean.
Pro Tip: Regular dishwashing liquid (not antibacterial) is what professional window cleaners actually use. Mix a few drops in a bucket of water, apply with a sponge or cloth, then squeegee off. It cuts through grime effectively and rinses clean. Skip the expensive "window cleaning" products — they don't work better except to make the producer more money.
Mistake #2: Cleaning in Direct Sunlight
This is the number one reason DIY window cleaning fails. You spray your solution on the glass, and by the time you go to wipe it off, the Queensland sun has already dried it into streaky residue.
Cleaning solutions need time to work before being removed. Direct sunlight evaporates water faster than you can squeegee, leaving concentrated cleaner behind. The result? Streaks, watermarks, and a window that looks worse than when you started.
Professionals clean in the shade or early morning for a reason. If you're DIYing, work on the shaded side of the house first, then move to the sunny side once it's in shadow. For homes in suburbs like Robina or Burleigh Heads with west-facing glass, late afternoon is the worst time to clean.
Pro Tip: Work in the shade or early morning before the sun hits. If you can't avoid sun, work fast or only clean part of the pane at once — even if you have to literally only wet and squeegee 1 swipe at a time, you're going to actually get a result worthy of your effort.
Mistake #3: Scrubbing Too Hard
Stubborn marks tempt you to scrub harder. Bad idea. Window seals, tinted glass, and even the glass itself can be damaged by aggressive scrubbing with the wrong tools.
Damaged Seals
Rubber window seals break down from harsh scrubbing or abrasive pads. Once damaged, they leak air and water. Replacing seals costs more than hiring a professional cleaner in the first place.
Scratched Glass
Using rough sponges, corse steel wool, or even the wrong side of a scourer scratches glass permanently. Fine scratches show up in sunlight and can't be polished out without professional equipment.
Ruined Tint
Tinted windows require soft cloths and gentle pressure. Scrubbing removes the tint layer, leaving permanent marks. If your windows are tinted, stick to soft materials and light pressure.
Pro Tip: Let the cleaning solution do the work. Soak stubborn marks for 30-60 seconds before wiping — don't scrub harder. Use a soft sponge or microfibre cloth, white non-scratch abrasive pads or fresh 0000 grade steel wool (think zero rust) is safe to use on uncoated glass. For really stuck-on grime, a fresh razor blade can remove the most drastic of spots, however its only suitable on uncoated glass.
DO NOT USE a plastic scraper!!!! Contrary to logic and what your mother tells you, a plastic scraper is more likely to scratch glass as it gets impregnated with dirt and grit which will cause scratches.
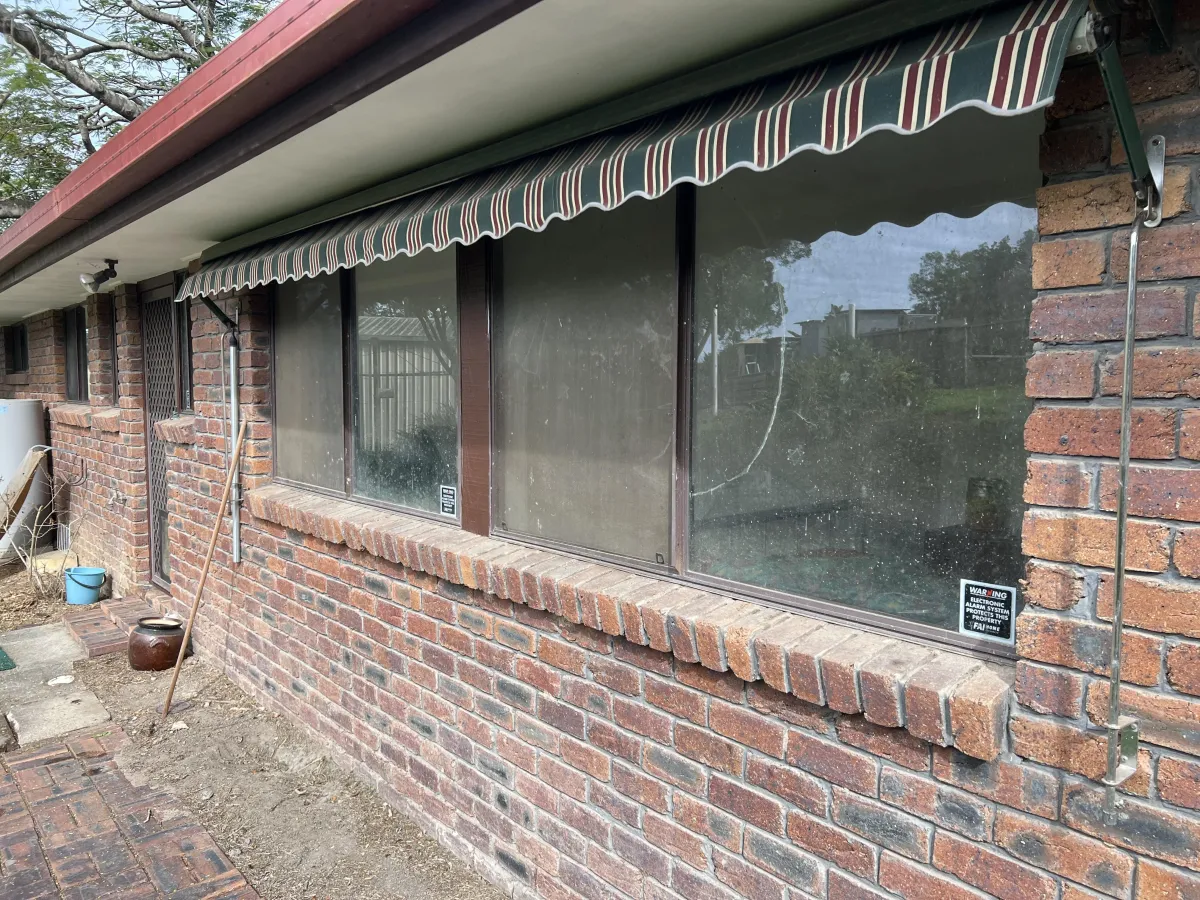
Mistake #4: Skipping Screens and Tracks
You've spent two hours cleaning the glass, and it looks great — until you put the screens back on and realise the windows still look dirty because the screens are clogged with dust and grime.
Dirty screens block light just as much as dirty glass, plus they hold nasty contaminants that get blown through your home when the windows are open. Tracks full of dirt prevent windows from sliding smoothly and trap moisture that causes mould. A proper window clean includes both — skipping them defeats the purpose.
How to Clean Screens Properly
Remove screens (if not security screens), lay them flat, scrub with soft brushes and soapy water, then rinse with a hose. Hosing is critical — it flushes out hidden dirt that brushing alone won't remove. Let them dry before reinstalling.
How to Clean Tracks
Brush tracks to loosen dirt, then dry-vacuum. Don't wash them with water — it turns dust into mud that hardens in the channels. A dry vacuum pulls out everything cleanly.
Pro Tip: If you want to safe some time and are capable of removing the windows to access the glass face covered by the screen, it is faster and more efficient to soap and wash the screen in place. This also protects the frames from damage because they stay supported the whole time. For tracks, always brush loose dirt first, then dry-vacuum — that way when water is in the track from washing, it doesn't make a mud pit. This takes 10 extra minutes and makes a massive difference.
Mistake #5: Only Cleaning One Side
Cleaning only the exterior seems logical — that's where most of the dirt is (in theory). But 9 time out of 10 the opposite is true.
When your inside looking out of you windows (because outside looking in is reserved for more nefarious people...) and only the outside is clean, you'll just see a hazy piece of glass with finger prints. If the inside is clean but the outside is dirty, you will actually get a nice reflection but the dirt on the outside will still make it look dirty
Light hits each surface differently. Interior dirt shows up against sunlight, exterior dirt shows at night with interior lighting. If only one side is clean, your brain notices the contrast and the window still looks dirty.
Most professional window cleaners won't offer exterior-only for residential first cleans because they know a half-clean result reflects poorly on their work. If you're DIYing, commit to both sides or don't bother.
Pro Tip: Always do both sides, even if it seems like overkill. Start with interiors, then do exteriors. Australian windows are designed to drain outward, so any drips you get will flow inside to out. By the time you get outside, all the drips will have happened and you can clean them off while cleaning the outsides. Trying to save time by skipping one side just means the windows still look dirty — you've wasted your effort.

When to Skip DIY and Call a Professional
DIY works for light maintenance between professional cleans. It doesn't work for first cleans, two-storey homes, or windows that haven't been touched in years. Here's when to call someone who knows what they're doing:
Windows haven't been cleaned in over a year — buildup is too stubborn for DIY
Two-storey homes or anything requiring ladders — safety risk isn't worth it
Glass balustrades, pool fencing, or specialty glass — easy to scratch or damage
Pre-sale presentation — streaky DIY job costs you more in lost sale price than professional cleaning
Your free time is worth more than $50/hour — hiring a pro saves 4-6 hours of work
KEY TAKEAWAY
Most DIY window cleaning fails because of wrong products, bad timing, or skipped steps. Using proper solutions, working in shade, cleaning both sides, and including screens and tracks prevents the most common mistakes. For neglected windows, two-storey homes, or anything requiring ladders, professional cleaning delivers better results for less effort and risk. Get your instant estimate to see what professional cleaning costs versus the DIY hassle.
Ready to Skip the DIY Mistakes?
Get streak-free results without the hassle. Instant estimate or call to book.
GET YOUR ONLINE ESTIMATE or call 1800 517 402
